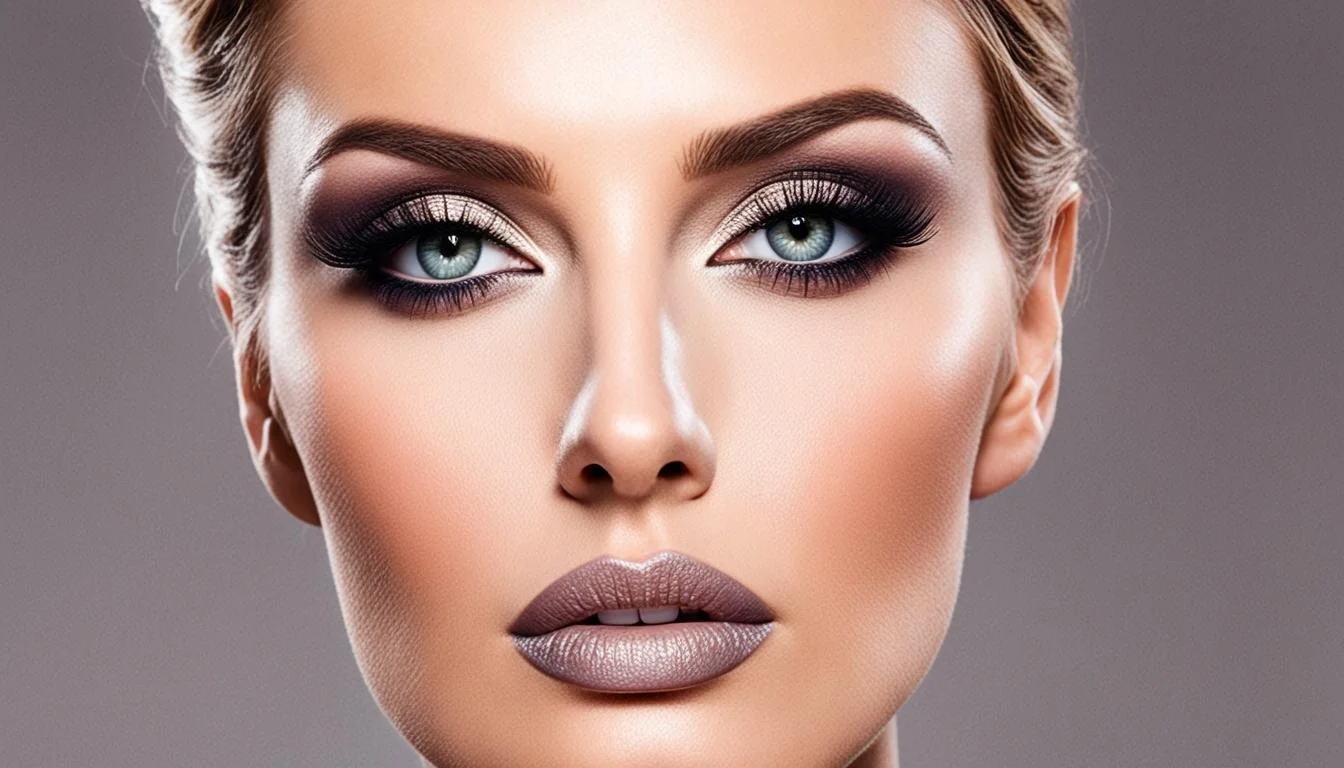
Welcome to our guide on creating natural smokey eye makeup. This look is all about allure and sophistication. Whether you’re just starting or are a makeup enthusiast, this tutorial will help you. You’ll learn to achieve a smokey eye that’s both sultry and subtle.
Creating a natural smokey eye is all about balance. The best results are achieved by using the right mix of colors, blending, and highlights. We’ll guide you through each step, from picking your colors to mastering blending. With our tips, you’ll create a smokey eye that complements your eye shape and skin tone. It will add that special allure to your overall look.
Get ready to tap into your inner makeup artist. We’re about to reveal how to create a natural smokey eye. It will catch everyone’s attention and make a memorable impact. Let’s start this exciting beauty adventure together.
Understanding the Smokey Eye Appeal
The smokey eye makeup look is timeless and loved by many. It’s perfect for both special events and nights out. This look is flexible and works well for various eye shapes and colors.
Using dark and light shades, the smokey eye adds depth to the eyes, making them more enchanting. The blending creates a soft, smoldering effect that’s unforgettable.
The smokey eye instantly changes a makeup look. It brings out the beauty and emotion in the eyes, altering the face’s overall look. It draws people in with a sense of mystery.
Furthermore, the smokey eye works for every eye shape. So, whether you have hooded eyes or almond-shaped ones, this technique can make your eyes stand out.
In short, the smokey eye look is popular because it creates a captivating appearance. By mastering this technique, you can choose to be bold or subtle, depending on your preference.
Choosing the Right Colors for a Natural Smokey Eye Makeup
Selecting the right colors is critical for a natural smokey eye. The right mix of eyeshadow shades can highlight your features and look flattering. We will examine three main points: skin tone, eyeshadow palettes, and color trends.
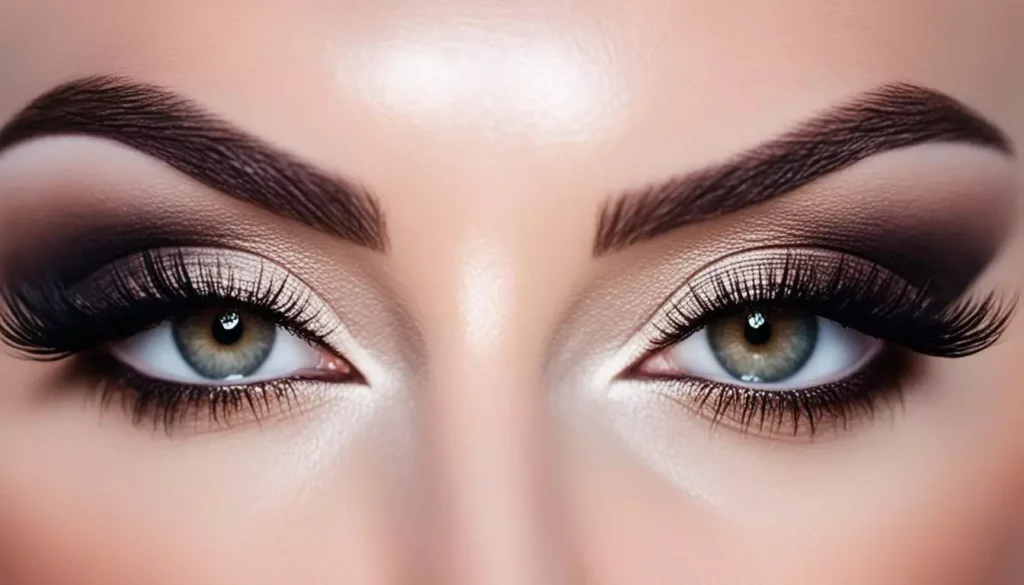
Considering Skin Tone
Your skin tone is essential when choosing eyeshadow. It helps you find the best shades for a natural smokey eye.
Fair Skin: Use cool-toned shades like taupe and soft gray. They add depth without being too bold.
Medium Skin: Go for warm colors like bronze and caramel. They add warmth and make your smokey eye stand out.
Deep Skin: Choose rich shades like deep plum. They create a beautiful contrast and enhance the smokey effect.
Selecting Eye Shadow Palettes
It’s essential to have a sound eyeshadow palette for the perfect smokey eye. It would be best to look for a mix of shades for depth and blend-ability. Check out these popular ones:
- Naked Heat Palette by Urban Decay
- Modern Renaissance Palette by Anastasia Beverly Hills
- Huda Beauty Desert Dusk Eyeshadow Palette
- Too Faced Chocolate Bar Palette
These palettes offer a range of colors for natural smokey eyes. You can mix and match to get the look you want.
Embracing Color Trends
Classic smokey eye colors are timeless, but trying new trends can make your look more modern. Adding a pop of color can elevate your smokey eye. Here are some trendy colors:
- Emerald Green: This shade adds drama and works well with neutrals.
- Burgundy: It’s rich and perfect for special events.
- Purple Haze: From lavender to plum, purple shades are captivating.
- Rose Gold: It’s soft, romantic, and adds warmth.
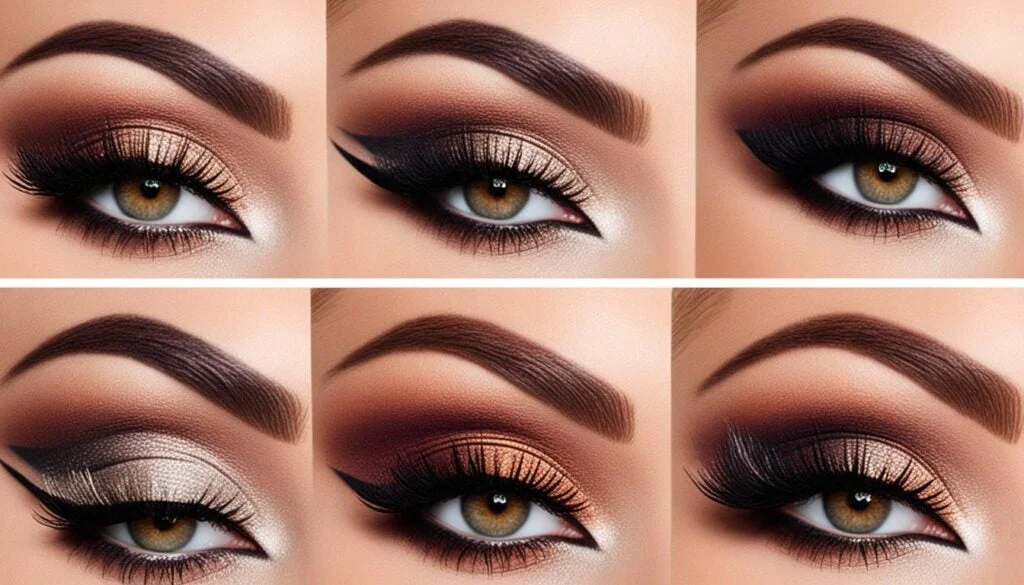
Embracing these trends can freshen up your smokey eye. It keeps the look modern while staying classic.
The Essential Tools for a Flawless Application
To get a professional smokey-eye look, you need the right tools. We’ll discuss the essential brushes for smokey eye makeup and why good brushes help achieve a perfect blend. Lastly, we’ll cover the role of primer for vibrant colors that last.
Quality Brushes are Key
Quality brushes make a big difference in smokey eye makeup. They allow for accurate application, smooth blending, and the right amount of eyeshadow. Soft and densely packed brushes are best for easy control and blending.
Here are some essential brushes for a flawless smokey eye:
- A fluffy blending brush: This brush is necessary for seamlessly diffusing and blending the eyeshadow colors.
- A small tapered brush is perfect for precise eyeshadow application in the crease and outer corner of the eye.
- A flat shader brush: This brush is ideal for packing eyeshadow onto the lid and creating a solid color payoff.
- An angled brush: This brush is great for applying eyeshadow along the lower lash line and creating a smudged eyeliner effect.
High-quality brushes are an investment. They make applications more accessible and make your smokey eye look more polished.
Using Primer for Long-Lasting Wear
Primer is crucial for a long-lasting smokey eye. It prepares a smooth base for eyeshadow, enhances colors, and prevents fading.
Here are the key benefits of using a primer for a smokey eye:
- Improved color payoff: Primer makes eyeshadow colors more vibrant and impactful.
- Long-lasting wear stops your eyeshadow from smudging, creasing, or fading all day.
- Smooth and even application: Primer makes the eyelid smooth for more accessible eyeshadow application and blending.
Start your smokey eye makeup with a bit of primer on your lids. Blend it well and let it dry before applying eyeshadow. This will keep your smokey eye perfect for hours.
Let’s explore why high-quality brushes and primer are must-haves for that flawless look.
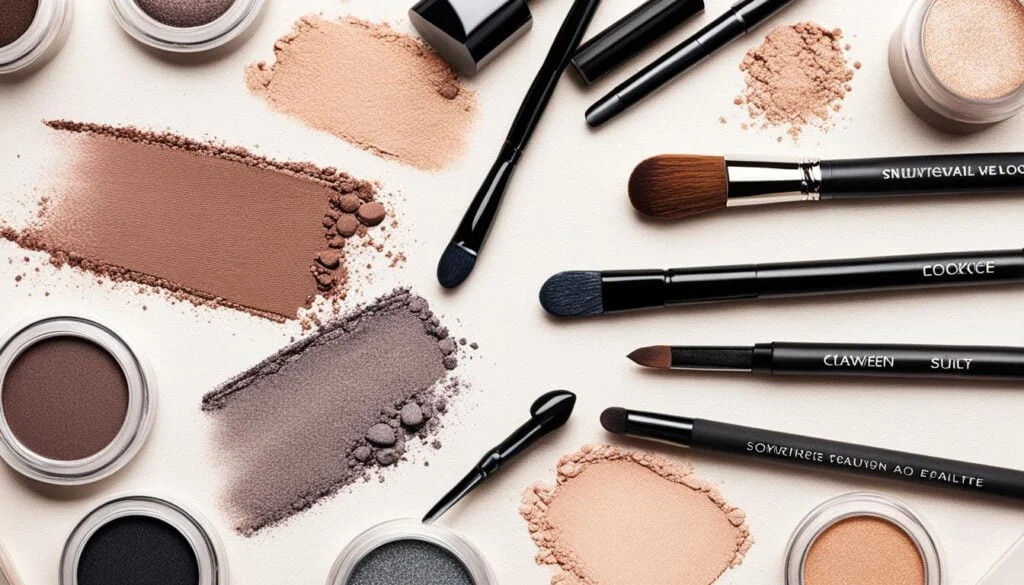 Image: Essential tools for a flawless and professional-looking smokey eye
| Essential Brushes for a Smokey Eye | How to Use |
|---|---|
| Fluffy Blending Brush | Use to blend eyeshadow colors seamlessly for a well-blended smokey eye. |
| Small Tapered Brush | Apply eyeshadow in the crease and outer corner of the eye for dimension and depth. |
| Flat Shader Brush | Pack on eyeshadow onto the lid for a substantial color payoff and intense pigmentation. |
| Angled Brush | Create a smudged eyeliner effect or apply eyeshadow along the lower lash line. |
Mastering the Blending Technique
The key to a natural and flawless smokey eye is mastering blending. Blending eyeshadows creates a look that emphasizes your eye shape and adds depth. We will show you step-by-step how to combine for a perfect smokey eye.
Choosing the right brush is crucial for blending. Soft, fluffy brushes are best for smooth application. Start by applying a transition shade in your crease with a windshield-wiper motion. This creates a smooth transition between colors.
Add a darker shade to the outer corner and crease next, building intensity. Blend it into the transition shade for a natural look. Blend from the outer corner inward to add depth.
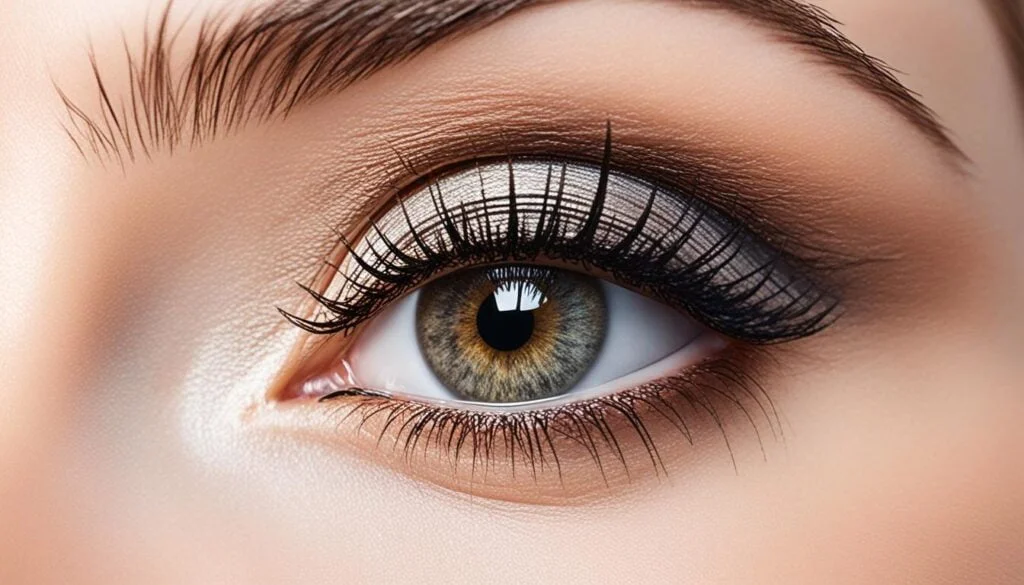
Use a clean brush or finger to smooth harsh lines and enhance the blend. This will give you a smokey eye that looks effortlessly blended.
Use light, gentle strokes when blending for a soft look. Pressing too hard can make the eyeshadow look muddied.
As you blend and add shades, check the look in natural light. This helps you make needed changes for a cohesive finish.
Mastering blending lets you achieve a professional smokey eye. Try different shades and techniques to discover your ideal look.
The Step-by-Step Smokey Eye Tutorial
This tutorial will show you how to create a smokey eye look. It’s perfect for makeup beginners or those looking to improve. You’ll learn how to prep your eyes and apply the smokey effect. Follow and practice to improve the natural smokey eye technique.
Prepping Your Eyes
Start by preparing your eyes for makeup. Use an eyeshadow primer to create a smooth base that lasts all day. Then, put matte nude eyeshadow on your eyelid. This creates a blank canvas for the smokey effect.
Applying the Base Color
Now, add the base color for your smokey eye. Pick a neutral shade that looks good on your skin. Apply it to your eyelid, blending from the outer corner to the center. Use a blending brush for a smooth transition.
Creating Depth and Dimension
Add depth with darker shades in your eye crease and outer corner. Choose a dark eyeshadow a few shades deeper than your base. Blend it into the crease and outer corner with a small brush for a gradient look.
Adding the Smokey Effect
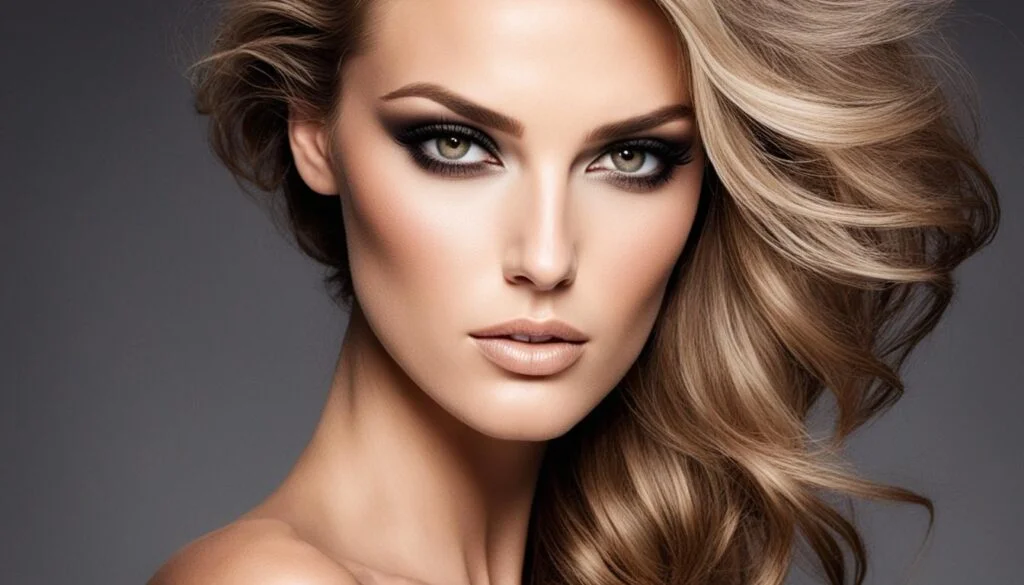
To make your smokey eye pop, add a deep, matte eyeshadow. Apply it to the outer corner with a pencil brush and blend inward. Use circular motions to smudge the color. Build the intensity to your liking.
Complete the look with mascara for fuller lashes. You can also add eyeliner or false lashes for extra drama. Keep blending at every step for a smooth finish. With practice, you’ll master this natural smokey eye look.
Elevating Your Look with Shimmer and Highlights
Adding shimmer and highlights will take your smokey eye to new heights. We will cover how to apply center lid highlights to make your eyes stand out. Also, we’ll talk about brightening the inner corners for an instant lift. These techniques will make your smokey eye perfect for special occasions.
The Center Lid Highlights
To boost your smokey eye, highlight the middle of your eyelid. This brings dimension and focus to your eyes. Pick a shimmery eyeshadow that matches your makeup. With a small brush, apply it to the center of your lid. Press it gently for smooth coverage. This creates a beautiful, glowing effect that enhances your smokey eye.
Brightening the Inner Corners
Brightening your eyes’ inner corners also lifts your smokey eye look and makes your eyes look more awake. Choose a highlighter shade lighter than your eyeshadow. Apply it with a small brush or fingertip to the inner corners. Blend it softly for a natural transition. This adds a youthful sparkle to your eyes.
Defining the Eye with Eyeliner Techniques
Eyeliner is critical to a perfect smokey eye. It makes your eyes stand out by adding depth. Let’s explore different ways to use eyeliner to boost your smokey eye game.
For a bold look, black eyeliner is the go-to. Start with a thin line at the upper lash line. Then, make it thicker towards the eye’s outer corner. This contrast with the eyeshadow makes your eyes pop.
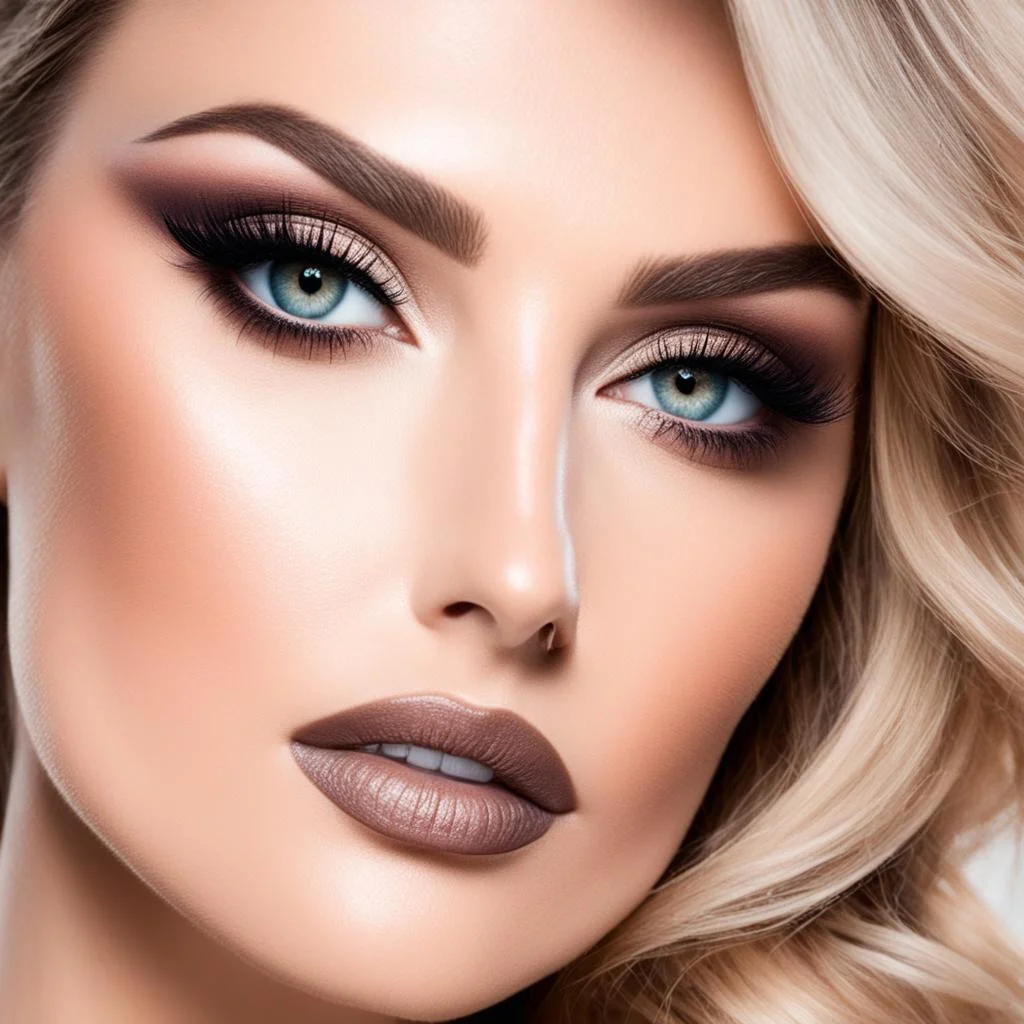
If you like a softer look, try brown or gray eyeliner. These shades are less intense but still define your eyes. Draw a thin line close to the lashes on your upper lid for a natural look.
Tightlining is excellent for making lashes look fuller. Apply eyeliner to the waterline of both upper and lower lids. Choose a waterproof pencil that matches your smokey eye. Be gentle and avoid pulling on your skin.
Try different eyeliner methods to see what works best for you. The right eyeliner is critical whether you love a dramatic or a gentle look. It’s the final touch that makes your smokey eye shine.
Final Touches: Mascara and False Lashes
No smokey eye look is complete without mascara and false lashes. These steps add depth and drama and take your look to the next level.
Let’s dive into mascara. The suitable one lifts and separates your lashes, making your eyes look open and attractive. To apply, start at the base and wiggle the wand up. This spreads the mascara evenly. Make sure to coat both the top and bottom lashes. Using a clean wand or lash comb can prevent clumps.
False lashes add even more drama. They give your natural lashes more length, volume, and intensity. Choose wispy false lashes with graduated lengths. They go well with the smokey eye, making it look even more mysterious.
To apply false lashes, measure and trim them to your eye shape first. Put a thin layer of adhesive on the band. Please wait a few seconds for it to become tacky. Then, press them as close to your natural lash line as possible. Use your fingers or tweezers to blend your lashes with the false ones.
Remember, it’s vital to wear a smokey eye with confidence. With mascara and false lashes, you’ll look mesmerizing. Try different types of mascara and lashes to see what works best for you.
| Mascara for Smokey Eye | False Lashes for Smokey Eye | Final Touches for Smokey Eye |
|---|---|---|
| Choose volumizing and lengthening mascaras to enhance your lashes. | Opt for false lashes with a wispy appearance and a graduated length. | Add mascara and false lashes to lift and intensify your smokey eye look. |
| Apply mascara from the base of your lashes and wiggle the wand upward. | Trim false lashes to fit your eye shape and apply them as close to your lash line as possible. | Experiment with different mascara formulas and lash styles to find your perfect combination. |
| Coat both upper and lower lashes for a cohesive smokey eye look. | Gently press your natural and false lashes together for a seamless blend. | Confidence is critical—rock your smokey eye with pride! |
Natural Smokey Eye Looks to Inspire Your Creativity
Are you searching for natural smokey eye inspiration? In this section, we’ll show you various natural smokey eye looks. They’re perfect for many occasions and styles. You’ll see celebrity-inspired looks and how different cultures have shaped smokey eye makeup. These ideas will boost your creativity, helping you try new techniques and color combos.
Celebrity-Inspired Styles
To get inspired for your natural smokey eye, look at celebrities. Stars like Jennifer Lopez, Rihanna, and Blake Lively rock stunning smokey eyes on the red carpet. By observing their makeup, you can recreate their looks and tailor them to fit your style.
Cultural Influence on Smokey Eye Makeup
Various cultures have shaped the smokey eye makeup technique. The ancient Egyptians used dark kohl for eye definition. Indian and Middle Eastern cultures have vibrant, smokey eye looks. By exploring these cultural influences, you can add unique touches to your smokey eye, creating a style that truly stands out.
| Culture | Influence on Smokey Eye |
|---|---|
| Egyptian | Defined and intense |
| Indian | Bold and colorful |
| Middle Eastern | Sultry and dramatic |
Smokey Eye Makeup Tips for Beginners
If you’re new to smokey eyes, we’ve got you covered. Mastering this look might seem harsh, but don’t worry. With some simple tips, you’ll nail it. The smokey eye works for many events, from special nights out to daily wear.
Common Mistakes and How to Avoid Them
Making mistakes with a smokey eye is typical for beginners. But, with some know-how, you can sidestep these errors. Here are vital mistakes to dodge:
- Overblending: Blending too much can blur your look. Use a gentle touch. Add color slowly. It’s easier to add than to take away.
- Skipping Primer: Don’t miss out on eyeshadow primer. It makes your shadow stick, brightens the color, and lasts. Always start with a primed lid.
- Using Dark Colors Only: A smokey eye isn’t just dark shades. Mixing in lighter colors makes it wearable. Blend light and dark shades well.
- Neglecting the Lower Lash Line: Don’t just focus on the eyelid. Include the lower lash line to round off the look. Use a brush to connect the top and bottom.
Simple Switches for Day-to-Night Looks
The smokey eye is versatile. A few tweaks can shift your look from day to night. Here’s how:
- Lighter Shades for Daytime: For the day, go for light eyeshadows like taupe or soft brown. Apply lightly for a gentle color.
- Adding Shimmer for Evening: Add sparkle for the night with shimmery shadow or glitter. Please put it on the lid’s inner corners or center. This brings glamour.
- Intensifying the Outer V: For evening drama, darken the eye’s outer corner and work on the outer V. This adds depth and is great for nights out.
- Enhancing the Eyeliner: Darken your eyeliner for the evening. Use black or dark brown close to the upper lashes. This will define and intensify your eyes.
| Common Mistakes | How to Avoid Them |
|---|---|
| Over blending | Use a light hand and build up the intensity gradually |
| Skipping Primer | Always apply eyeshadow primer to enhance longevity |
| Using Dark Colors Only | Incorporate lighter transition shades for balance |
| Neglecting the Lower Lash Line | Smudge eyeshadow or eyeliner along the lower lash line for a complete look |
Smokey Eye Techniques for Different Eye Shapes
It’s essential to match your smokey eye with your eye shape. This guide shows you how. You’ll learn the best smokey eye techniques for various shapes, like hooded eyes and monoids. By choosing the proper technique, you can stunningly highlight your natural looks.
For hooded eyes, create depth in the crease and use lighter shades on the lid. This makes the eyes look more open. Monolids? Go for a gradient eyeshadow to fake a crease and add depth. If you have almond eyes, try a classic smokey look. Blend the eyeshadow outward to make your eyes look longer.
Trying different techniques lets you find the best look for your eyes. No matter what shape your eyes are, there’s a smokey eye for you. Learn these tricks, and you’ll have a smokey eye showing your beauty.
| Eye Shape | Techniques |
|---|---|
| Hooded Eyes | To create depth in the crease, use lighter shades on the lid and blend upward to open the eyes. |
| Monolids | Apply eyeshadow with a gradient effect to add dimension and create the illusion of a crease. |
| Almond Eyes | Focus on blending the eyeshadow outward to elongate the eyes and enhance their natural shape. |
| Round Eyes | To elongate and balance the eyes, use darker shades on the outer corner and lighter shades on the inner corner. |
| Downturned Eyes | Extend the eyeshadow upward and outward to lift and create a more lifted appearance. |
Glam Smokey Eye Makeup VS Natural Look
There are two main smokey eye styles: glam and natural. While both focus on the smokey eye concept, they have fundamental differences. These include color intensity, choices, and the look’s impact.
A glam, smokey eye stands out with boldness. It uses vibrant colors, high contrast, and often shimmer or glitter. This look exudes confidence and is perfect for events where you want to make a statement.
The natural smokey eye, however, focuses on being subtle. It uses softer tones and gentle blending for a more understated elegance. Ideal for everyday wear, it enhances the eyes naturally.
The glam look is about getting noticed with its striking effect. The natural look, in contrast, aims to enhance beauty subtly. It offers a softer gaze.
Mastering blending and color choice is crucial regardless of which style you prefer. Trying different shades and techniques will help you find the perfect smokey eye.
| Glam Smokey Eye | Natural Smokey Eye |
|---|---|
| Intense colors | Softer, earthy tones |
| High contrast | Subtle gradients |
| Shimmer and glitter | Minimal shimmer |
| Dramatic impact | Soft, alluring gaze |
Maintaining a Natural Smokey Eye Throughout the Day
Once you’ve crafted your natural smokey eye, keeping it perfect all day or night is critical. We’ll share tips for quick fixes and adjustments while on the move. You’ll also learn about the power of setting sprays and techniques for touch-ups. These ensure your smokey eye looks fresh for hours.
Quick Fixes and On-the-Go Adjustments
Sometimes, your smokey eye might need a fast fix. Here are some simple solutions:
- Bring a small eyeshadow brush or a cotton swab to smooth out any creases or smudges.
- Use a matte, neutral eyeshadow to blend out any harsh lines or faded edges smoothly.
- Put on translucent powder or delicate eyeshadow to soak up excess oil. This will keep your smokey eye from creasing or smudging.
- Have a mini makeup remover wipe ready. It helps fix big mistakes or remove fallout without ruining your eye makeup.
Setting Sprays and Touch-Up Techniques
Setting sprays and touch-up methods can make your smokey eye last. Here’s what you can do:
- After your smokey eye is done, spritz a setting spray over your face. Hold it about an arm’s length away. This will lock in your makeup and make it last.
- Keep a small blending brush and a transition shade with you for quick touch-ups. Blend the shade into the crease if you see any fade or issues.
- If you notice smudging or transfer, use an eyelid primer before your eyeshadow. It creates a smooth base and makes your smokey eye stay on longer.
- Apply a layer of waterproof mascara over your usual one for added staying power. This prevents smudging or smearing under various conditions.
To keep your natural smokey eye looking good, use these quick tips, setting sprays, and touch-up tricks. Your eye makeup will remain flawless and alluring no matter where you are. Whether it’s a special event or your everyday look, your smokey eye will stay captivating.
Conclusion
Congratulations on finishing this detailed guide on a sultry, natural, smokey eye makeup look. This tutorial aimed to boost your confidence. It helps you enhance your beauty with the power of smokey eye makeup.
We examined why the smokey eye is timeless and popular, discussed choosing the right colors for your skin, and mentioned the latest color trends for smokey eye makeup. We also discussed the must-have tools for perfect application, including quality brushes and a durable primer.
The article walked you through each step for a natural smokey eye. This starts with preparing your eyes, blending correctly, and adding sparkle. We talked about eyeliner tricks to make your eyes pop. Plus, tips for applying mascara and fake lashes were given. We even discussed how to adjust the smokey eye for different eye shapes.
To wrap up, we encourage you to be creative and try new things. Customize your smokey eye to reflect your style. Practice makes perfect, so keep at it. This guide has given you the skills for a stunning smokey eye. It will boost your confidence for any event. Enjoy exploring the many looks you can create!


